Key Takeaway: To install a car cover safely, start with a clean and completely dry vehicle surface. Place the folded fabric bundle on the roof, unroll it along the center spine from front to back, secure the mirror pockets, pull the front and rear hems over the bumpers, smooth out any bunched material along the body panels, and fasten your under-body security straps snugly.
Installing an exterior vehicle protector seems straightforward until gritty road dust catches underneath the hem and grinds into the clear coat during a sudden wind gust. The easiest way to get this wrong is by dragging a heavy, dirty fabric panel directly across a dusty hood or roof, transforming your protective shield into an abrasive sheet. Proper placement requires deliberate handling, careful unrolling, and a clean vehicle surface to keep exterior finishes safe from micro-marring.
Taking a few extra minutes to learn how to install a car cover correctly ensures your investment actually preserves your paint rather than wearing it down. This guide walks you through essential preparation steps, the correct unrolling technique, proper tie-down procedures, and common mistakes that lead to torn fabrics or scratched paint.
Before You Start Working on Your Vehicle
Preparation dictates whether your vehicle shield protects your paint or ruins it. Taking shortcuts during the prep phase invites trouble, especially if grit or moisture becomes trapped beneath heavy multi-layer fabrics.
Assessing Paint Cleanliness and Surface Contamination
Never drape fabric over a dirty or dusty vehicle. Even microscopic dirt particles act like fine sandpaper when pressed against clear coat by wind-driven friction. If your vehicle has been driven recently or sits outdoors under trees, give it a thorough wash and dry before attempting installation. Letting moisture remain on the body panels under a tight cover can lead to trapped humidity, so ensure the paint is completely dry to the touch.
Surface contamination also includes organic matter like tree sap, bird droppings, and pollen. If left on the paint, these substances can chemically bond with the clear coat when compressed underneath a heavy cover. Inspect your vehicle panels closely under good lighting before beginning the car cover installation steps. A quick wipe with a clean microfiber detailing towel removes stray dust that settled after your initial wash, guaranteeing a safe baseline for your vehicle protection strategy.
Evaluating Environmental Exposure and Wind Conditions
Strong gusts make handling large fabric sheets frustrating and potentially hazardous to your vehicle’s trim. If you park in an open driveway or an exposed coastal area, check local weather forecasts before beginning. Calm days offer the ideal window for placement. If wind is unavoidable, enlist a second person to help manage the fabric panels so they never whip violently against side mirrors or antennas.
Wind exposure introduces the risk of the fabric acting like a parachute, pulling against your hands and potentially sweeping up loose debris from the surrounding ground. When managing outdoor storage in breezy regions, patience is your best asset. Wait for lulls in the wind, or perform the task inside an enclosed garage if one is available, minimizing environmental stress on both you and the fabric weave.
Gathering Necessary Accessories and Protection Tools
Having the right accessories ready before you begin keeps the process efficient. Gather your grommet lock, cable, or elastic hem tools, along with a clean step stool if you drive a tall SUV or lifted truck. Preparing your security hardware in advance ensures you can anchor the vehicle immediately after the fabric is fully positioned.
Organizing your fasteners and tie-down straps ahead of time prevents you from leaving the vehicle half-covered while you search for missing hardware. Keep your security straps, lock cables, and antenna patches organized in a dedicated storage bag near the vehicle. This discipline streamlines the entire car cover installation steps routine, ensuring every component is deployed in the correct order without unnecessary delays.
Essential Prerequisites and Context for Vehicle Covers
Understanding how your specific fabric interacts with your vehicle shape changes how you handle the installation process. Custom-fit designs feature tailored mirror pockets and contour-hugging seams, meaning they must line up precisely with factory body lines. Universal and semi-custom options offer more wiggle room but require extra attention at the hem lines to prevent loose material from catching the wind.
Storage environment also dictates your approach. Indoor garage storage prioritizes lightweight dust protection where breathability matters most. Outdoor storage demands multi-layer weather-resistant fabrics that resist UV rays and heavy rain. Knowing your material limitations prevents you from forcing a heavy winter-grade shield onto a hot engine bay right after a long highway drive.
Furthermore, recognizing the distinct differences between universal fit and custom fit options informs how you handle tension along the body panels. A universal fit cover relies on a stretchy elastic hem to cinch around the vehicle perimeter, requiring careful manual adjustment so the tension distributes evenly. In contrast, a custom fit variant demands exact alignment of its mirror pockets and contoured seams to prevent undue stress on the fabric weave.
Step-by-Step Instructions on How to Install a Car Cover
Executing each stage in the proper sequence prevents dropped corners, tangled hems, and paint scuffs. Follow these detailed steps to complete the job cleanly and securely.
Step 1: Position and Unfold the Fabric Package
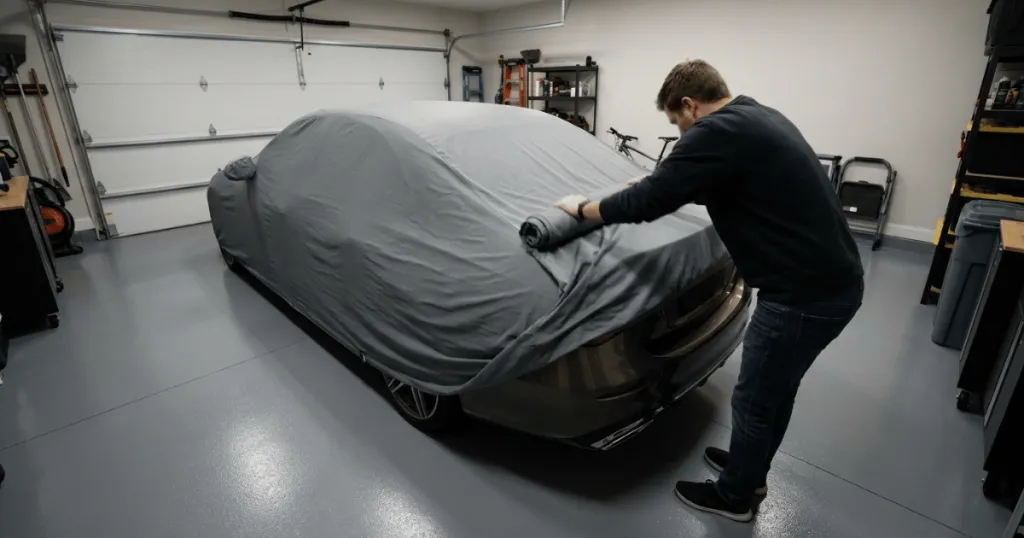
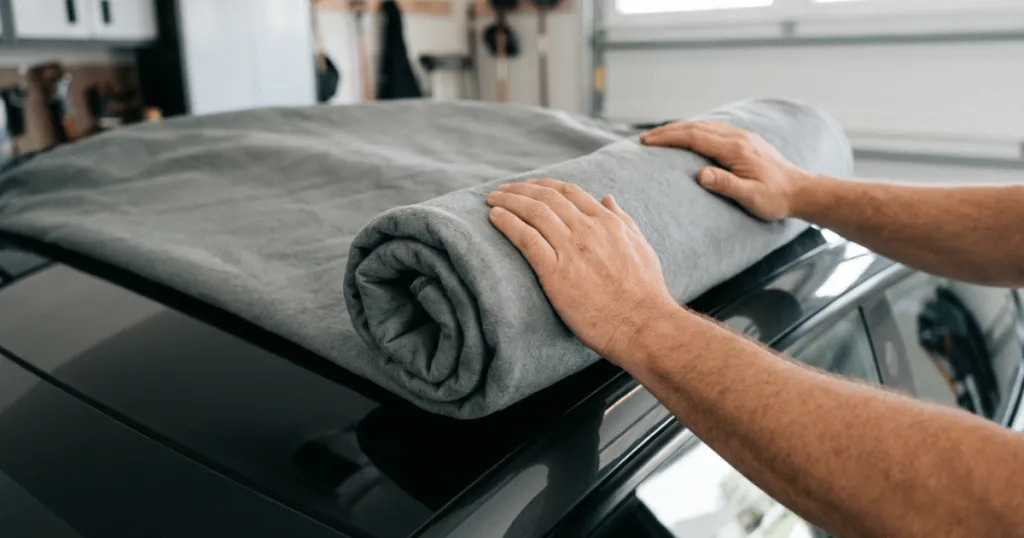
Start by placing the rolled or folded fabric bundle on the roof of your vehicle. Avoid letting any part of the bundle touch the ground where it can pick up asphalt grit, leaves, or sharp pebbles. Unroll the fabric gently along the center spine of the vehicle from front to back, letting the sides drape down naturally toward the doors.
As you unroll the material, take care not to let the hanging sides drag across dirty exterior glass or dusty fenders. If you are learning how to put on car cover systems efficiently, mastering this center-spine deployment method is crucial. It keeps the cleanest inner lining facing the vehicle paint while keeping the weather-exposed exterior side facing outward away from your clear coat.
Step 2: Secure the Mirror Pockets and Front Bumper
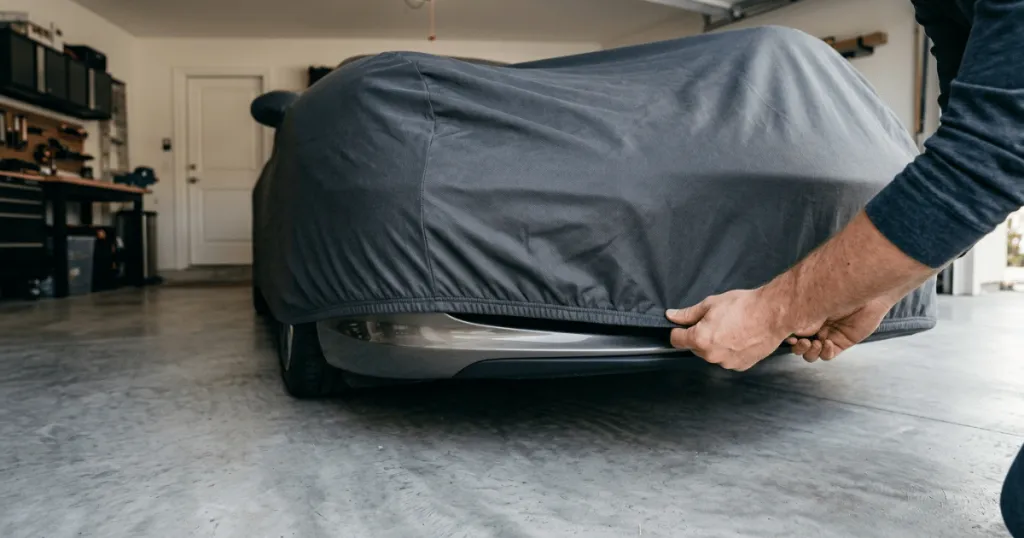
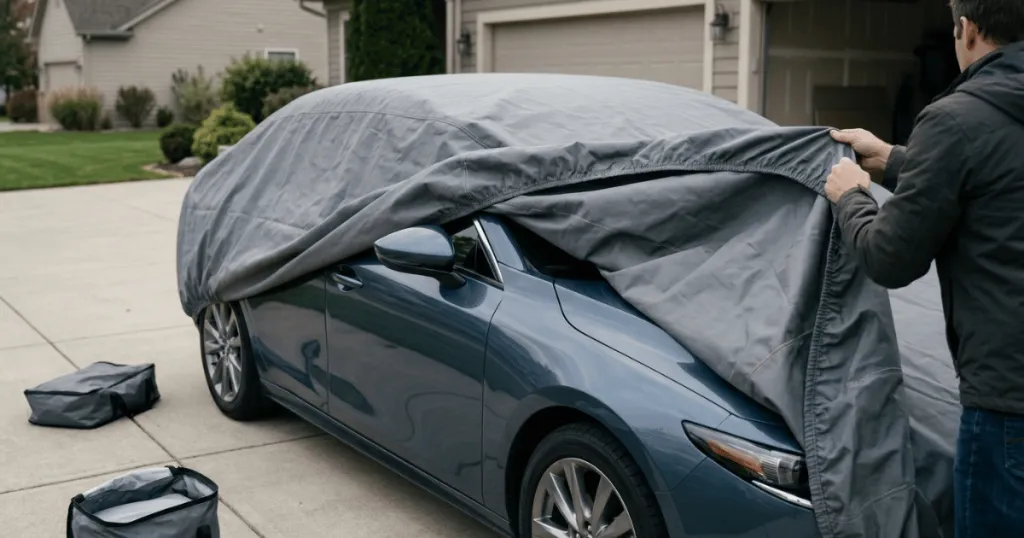
Locate the designated mirror pockets if your design is custom-fitted. Slip the pockets over the side view mirrors first to anchor the middle section of the fabric firmly in place. Next, pull the front hem downward and over the front bumper, making sure the lower elastic edge cups underneath the lowest point of the front fascia.
Securing the mirror pockets early establishes a fixed reference point, preventing the entire cover from shifting off-center as you pull the ends into place. When managing a universal fit design that lacks dedicated mirror pockets, center the front hem over the nose of the vehicle first, smoothing the fabric outward toward each fender before moving down the flanks.
Step 3: Stretch and Pull the Rear Hem Into Place
Walk to the rear of the vehicle and pull the back hem upward and outward over the trunk or rear bumper. Never yank the fabric aggressively from one side only, as uneven tension can strain the stitched seams or snap elastic bands. Ensure the rear corners drop smoothly past the bumper corners.
If the rear hem resists stretching over a protruding rear spoiler or a large bumper, pause and walk back to the sides to release slack from the doors and quarter panels. Forcing the rear fabric under high tension can damage the hem stitching or cause the front bumper pocket to pop off its mounting point.
Step 4: Adjust the Fit Along the Body Panels
Work your way around the vehicle perimeter, smoothing out any bunched material along the doors, fenders, and quarter panels. Check that the side mirror pockets sit flush without twisting the fabric. A well-adjusted shield should drape evenly without pulling tightly across sharp sheet metal creases.
Pay close attention to how the fabric rests against protruding antennas, wiper blades, and side mirrors. If your vehicle features a fixed mast antenna that cannot be unscrewed, use a specialized grommet kit to install a reinforced hole in the exact spot required by your vehicle layout. Taking time during this adjustment phase ensures wind resistance remains low and prevents premature wear at high-friction contact points.
Step 5: Attach Securing Straps and Lock Hardware
Pass your under-body security strap or cable underneath the chassis from one side to the other. Fasten the buckles securely, adjusting the tension so the strap rests flat against the undercarriage without sagging. If your kit includes a cable lock through built-in brass grommets, feed the cable through and lock it to deter tampering or theft.
Proper strap tension is vital. It must be snug enough to prevent high winds from lifting the cover off the chassis, yet loose enough that it does not bow or deform the undercarriage cladding. Once your straps and locks are secured, step back and inspect the entire perimeter to verify that the elastic hem is tucked firmly beneath the front and rear bumpers.
Common Mistakes to Avoid During Installation
Skipping basic precautions often leads to frustration or damaged vehicle surfaces. Recognizing these pitfalls keeps your paint safe and extends the lifespan of your protective investment.
Dragging the fabric across the ground is the most frequent error vehicle owners make. A single pass over concrete picks up tiny stones that become embedded in the inner fleece lining. Always lift and fold the material into manageable bundles rather than pulling it across dirty pavement.
Another frequent misstep is pulling the fabric too tightly over sharp aftermarket accessories like roof racks, winch mounts, or oversized spoilers. High-tension points create weak spots in the fabric weave, eventually leading to tears. Use padded covers or remove detachable accessories when possible. Furthermore, never attempt installation while the exhaust pipes are still hot, as extreme thermal output can melt synthetic fabrics instantly upon contact.
Troubleshooting Installation Challenges
Even with careful planning, unexpected obstacles can arise while securing your vehicle. Here is how to handle common fit and weather hurdles.
If high winds keep lifting the fabric while you work, stop and wait for a calmer interval. Trying to fight a billowing sheet alone often results in the fabric sweeping across dirty ground or catching on sharp door handles. If immediate coverage is necessary, have a helper hold the windward side down while you anchor the leeward corners.
When the hem feels too tight to clear the bumpers, check that you have not installed the fabric backwards. Front and rear orientations matter significantly on custom-fit designs. Unsnap any security straps, lift the entire sheet, and reverse its orientation if the rear pocket fails to reach the tail lamps.
Properly executing how to install a car cover safeguards your vehicle finish from environmental wear year-round. By maintaining a clean surface, avoiding ground contact, and anchoring your straps securely, you ensure optimal protection for your vehicle.
FAQ
Can I put a car cover on a vehicle that is still wet?
Putting a cover over a wet vehicle traps moisture against the clear coat, which can lead to water spots, mold growth, or paint damage over time. Always dry the vehicle thoroughly before installation.
How do I keep my car cover from blowing away in heavy winds?
Use a durable under-body security strap and tighten it snugly across the chassis. For severe weather areas, supplemental wind straps or a weighted cable lock through built-in grommets will prevent lifting.
How often should I clean my car cover?
Wash your car cover every few months or whenever visible dust and pollen accumulate on the outer layer. Most multi-layer covers can be washed gently while spread out on a clean driveway using mild automotive soap and a soft brush.