Quick Answer: To remove a car cover safely, unbuckle all underbody straps, fold the sides up toward the center roofline, and roll the material from front to back rather than dragging it across the paint.
Before rushing to strip away your vehicle protection, run a quick readiness check. Assess current weather conditions, confirm that the fabric is dry or manageable, and verify that you have a clean workspace ready for the bundle. Taking a few seconds to evaluate these factors right now dictates whether your paint remains completely pristine or suffers from avoidable friction marks.
Removing a protective shield from your vehicle requires more than simply grabbing the fabric and pulling it off in one forceful motion. Grit, dirt, and trapped moisture often accumulate on the exterior surface while the vehicle sits parked, turning a careless pull into an abrasive hazard for clear coat finishes. Before you start, take a few minutes to evaluate current weather conditions, inspect the fabric for pooled water or heavy debris, and prepare a clean storage bag or designated holding area.
Taking a systematic approach prevents accidental paint marring and keeps elastic hems from snapping against painted body panels. This guide walks you through every phase of the process, from unlatching securing straps to folding the fabric correctly for future use.
Before You Start: Preparation and Inspection Checks
Proper preparation before handling the fabric determines whether the vehicle finish stays pristine or picks up fine swirl marks. A dry vehicle surface and a clean workspace make the physical handling much smoother. Skipping these initial assessments often leads to stubborn debris grinding directly into the clear coat as the material slides over mirrors and bumpers. When taking off a car cover, rushing this phase is the primary cause of accidental surface marring.
Evaluating Surface Debris and Moisture Levels
Start by walking entirely around the vehicle to inspect the exterior surface of the material. If heavy tree sap, wet leaves, or windblown grit cover the top panels, do not pull the fabric immediately. Instead, use a gentle stream of water or a soft brush to clear away heavy contaminants first. Pulling dry dust across a dusty finish acts like fine sandpaper, so removing loose particles beforehand is a vital safeguard for long-term paint protection.
Checking Weather and Environmental Conditions
Environmental factors dictate how easily the task will go. High wind gusts make handling large fabric panels difficult, as the wind can catch the material like a parachute and snap elastic hems against side mirrors or door handles. If strong winds are present, wait for a calmer window or enlist a second person to assist. Additionally, ensure the material is not completely frozen to the vehicle surface during winter months, as ice bonding requires gentle thawing rather than forceful pulling.
Preparing the Storage Area and Accessories
Designate a clean, dry location where the material can be placed temporarily during the process. Avoid laying large panels directly onto gravel, dirt, or wet pavement, which will instantly transfer grime back onto the soft interior lining. Having a clean storage bag or a dedicated plastic storage bin ready nearby ensures the fabric stays clean from the moment it leaves the vehicle paintwork.
Tools, Context, and Prerequisites
While specialized tools are rarely required, having a few basic items on hand makes the task significantly easier and safer for the vehicle finish. Knowing the context of your specific setup ensures you do not force a rigid or frozen fabric off the body panels during uncovering a car routines.
Understanding Material Weight and Structure
Multi-layer outdoor covers featuring thick fleece linings or reinforced weatherproof membranes are heavier and less flexible than lightweight indoor dust covers. Heavy-duty options require a measured, rolling technique rather than a simple lifting motion. Recognizing the weight of your specific model helps you judge whether you need an extra set of hands to manage the bulk safely.
Required Items Checklist
Gather these basic items before beginning the process to ensure a smooth workflow:
– Clean storage bag or breathable storage container
– Soft-bristle brush or microfiber cloth for spot debris removal
– Step stool for tall vehicles such as full-size SUVs or lifted trucks
– Optional helper for high-wind conditions or oversized vehicle covers
Step-by-Step Instructions on How to Remove a Car Cover
Executing the removal in a precise sequence prevents unnecessary strain on the fabric and protects vulnerable painted surfaces from friction. Follow these distinct steps in order to complete the job cleanly.
Step 1: Release Securing Straps and Underbody Buckles
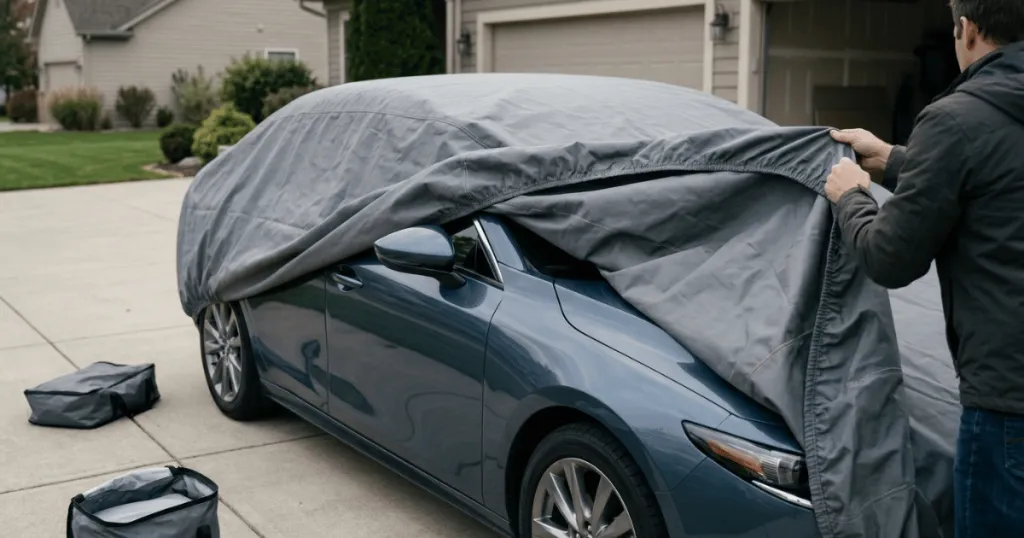
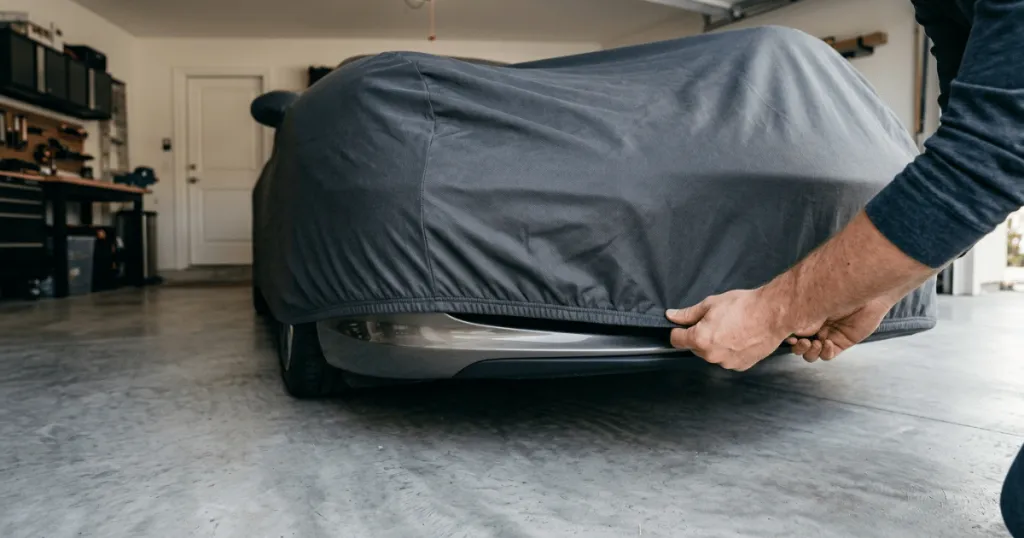
Begin at the underside of the vehicle where wind straps, click-lock buckles, or security cables are anchored. Unbuckle all side straps and loosen any integrated cable locks threaded through the bottom grommets. Letting the straps dangle free prevents them from catching on wheel wells, rocker panels, or exhaust tips as you roll the material upward.
Step 2: Fold the Sides Toward the Center Roofline
Walk to one side of the vehicle and carefully lift the lower hem away from the rocker panel. Fold the loose fabric upward toward the center of the roofline, repeating the same action on the opposite side. This creates a neat, manageable spine of fabric running along the top ridge of the vehicle, keeping the hanging sides away from wheels and side mirrors.
Step 3: Roll the Material from Front to Back
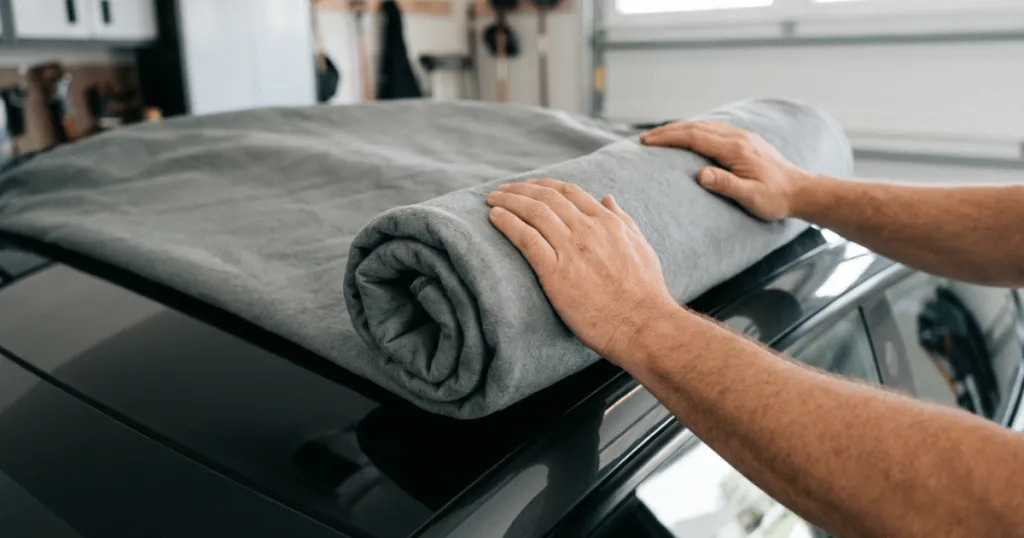
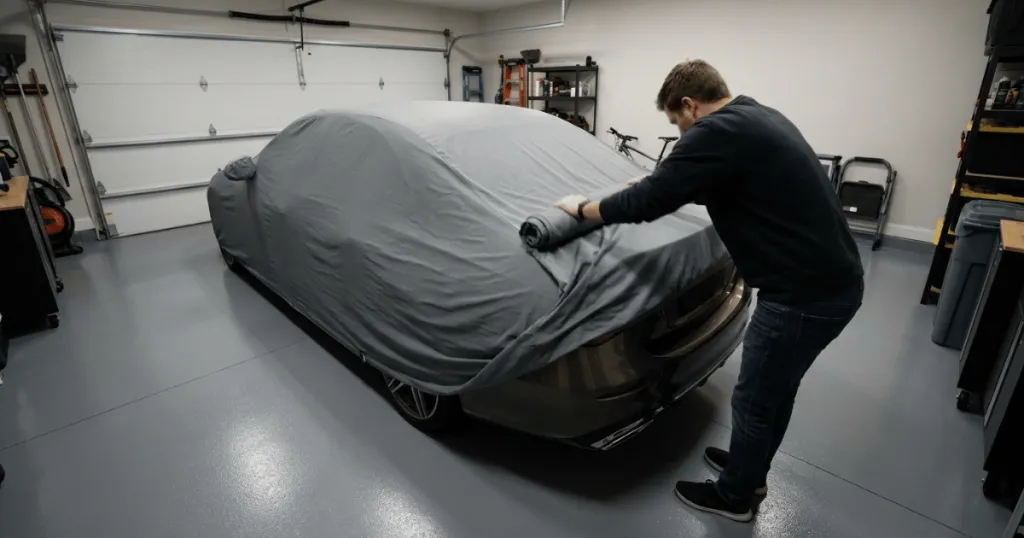
Stand at the front bumper and begin rolling the fabric backward toward the rear glass. As you roll, keep the inside lining facing inward so that any dust or atmospheric debris collected on the exterior stays trapped inside the roll. Avoid dragging the rolling bundle across the hood or trunk lid; lift slightly as you guide it along the roofline using a proper fabric folding technique.
Step 4: Lift and Transfer to Storage
Once you reach the rear of the vehicle, complete the final roll and gently lift the entire bundle away from the trunk lid. Place the rolled fabric directly into your breathable car cover storage setup or onto a clean elevated surface. Never compress a wet or damp fabric into an airtight container, as trapped moisture promotes mold and mildew growth.
Common Mistakes to Avoid During Removal
Avoiding common procedural errors protects your vehicle finish and extends the functional lifespan of the protective material. Recognizing these pitfalls helps you establish safe habits every time you uncover your car.
Dragging the Fabric Across Painted Surfaces
The single most frequent error is pulling a dusty or dirty sheet horizontally across the hood, fenders, or trunk lid. Horizontal sliding forces trapped grit against the clear coat, creating micro-scratches that dull the paint over time. Always lift or roll the material vertically rather than dragging it across body panels.
Ignoring Trapped Moisture and Debris
Removing a wet shield without drying it first or leaving heavy tree debris on top invites long-term problems. Moisture management is critical because water trapped within a rolled bundle can cause mildew, while abrasive grit left on the underside ruins the soft interior lining. Always shake off loose leaves and let surface condensation evaporate when possible before packing the material away.
Pulling Too Hard on Elastic Hems and Pockets
Forceful yugging on tight elastic hems or mirror pockets places excessive stress on the stitched seams. If the material catches on a door handle or antenna, walking over to release it manually is much safer than yanking from a distance. Respecting the physical limits of the seams prevents tearing and fabric distortion.
Troubleshooting and Edge Cases
Certain real-world conditions present unique challenges that standard procedures cannot resolve immediately. Knowing how to handle these edge cases ensures you never damage your vehicle out of frustration.
Dealing with Frozen Fabric in Freezing Weather
During cold winter conditions, moisture can freeze the fabric directly to the paint or window glass. Never rip or force a frozen cover loose, as this can pull off clear coat or tear the fabric threads. Instead, pour lukewarm water over the frozen perimeter or run the vehicle heater for a few minutes to gently warm the metal panels and release the ice bond.
Managing Oversized Covers on Large Vehicles
Removing a thick, multi-layer shield from a tall SUV or a long crew-cab truck presents a serious reach challenge. Using a sturdy step stool prevents awkward pulling angles that cause you to drop the heavy fabric onto the ground. If wind conditions are strong, attempting this alone on a large vehicle increases the risk of dropping the material into dirt, so waiting for assistance is the smartest choice.
Final Thoughts on Safe Uncovering Practices
Mastering how to remove a car cover takes only a few minutes of patience, yet it pays dividends in preserving your vehicle paint quality and extending the life of the fabric. By treating the process as a careful procedure rather than a rushed chore, you avoid unwanted scratches and keep your car ready for the road.
FAQ
Can I remove a car cover when it is wet?
You can remove it when wet if necessary, but you should lay it out to dry completely before packing it into a storage bag to prevent mildew growth.
What is the best way to prevent scratching during removal?
Roll the fabric toward the center rather than sliding it horizontally across the body panels, and always clear away heavy surface dirt before starting.
Should I store my car cover inside a plastic bag?
No, you should use a breathable fabric storage bag to allow any residual moisture to escape and prevent mold buildup.