A protective vehicle shield defends exterior paint from harsh weather, but the barrier itself absorbs environmental fallout over time. Organic debris, tree sap, and industrial pollutants leave stubborn marks that require careful attention to clear away. Knowing how to properly remove stains from car cover fabrics without destroying delicate waterproof coatings or tearing woven layers preserves the lifespan of the material.
Many vehicle owners assume that washing a protective shield requires harsh detergents or high-pressure washing. In reality, aggressive chemical treatments strip away UV inhibitors and degrade bonded seams. Safe cleaning relies on targeted solutions matched to specific contaminant types, gentle mechanical action, and thorough rinsing.
Why Stains Form and Why Material Type Dictates the Cleanup Method
Environmental fallout interacts with woven and non-woven textiles in distinct ways depending on the chemical composition of the fabric. Multi-layer composite textiles feature microscopic pores designed to let trapped moisture escape while blocking liquid rain. When contaminants like bird droppings or tree resin settle into these pores, they bond with the polymer fibers. Applying a generic household cleaner often dissolves the outer finish rather than lifting the blemish.
Understanding fabric construction prevents accidental damage during maintenance. Natural cotton blends absorb liquids quickly, requiring mild laundering solutions that do not rot the fibers. Modern synthetic textiles like spunbond polypropylene, polyester, and multi-layer microporous films resist moisture differently. These synthetic barriers demand cool water and gentle surfactants to avoid melting or delaminating the protective layers. When you execute car cover maintenance, recognizing the limitations of your specific textile variant keeps you from employing abrasive tactics that ruin the waterproof membrane.
Assessing Contaminants Before You Begin Washing
Different blemishes require distinct removal strategies based on their chemical makeup. Categorizing the mark helps determine whether you need a simple detergent wash, a solvent dab, or an enzymatic breakdown. Misjudging the contaminant type risks spreading the residue across a larger surface area or driving it deeper into the weave.
Tree Sap and Resin Residue
Tree resin hardens into a sticky deposit that resists standard soap and water. Scraping hardened resin with a rigid tool tears the underlying fabric threads. Instead, apply a small amount of isopropyl alcohol or a specialized automotive adhesive remover to a clean microfiber cloth. Dab the spot gently until the sap softens, then blot away the dissolved material. When you need to clean tree sap off car cover surfaces without leaving behind a cloudy chemical film, patience and precise solvent application yield the safest outcomes.
Bird Droppings and Organic Matter
Avian waste contains high levels of uric acid that can etch synthetic textiles if left untreated. Soak the affected zone with a mixture of lukewarm water and mild liquid dish soap to loosen the dried crust. Avoid rubbing abrasive scrub pads against the surface, which causes fuzzing and weakens the water-repellent finish.
Industrial Fallout and Pollen Accumulation
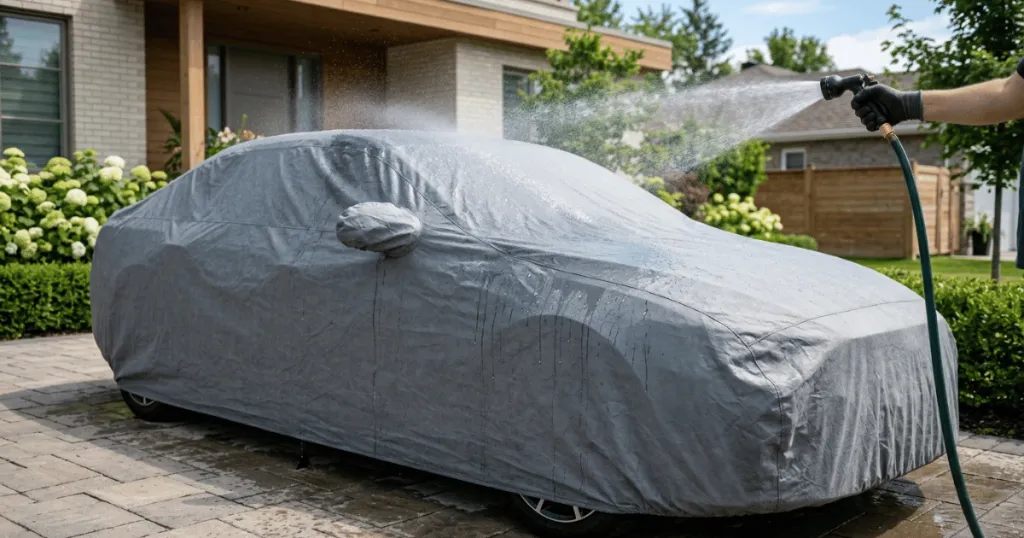
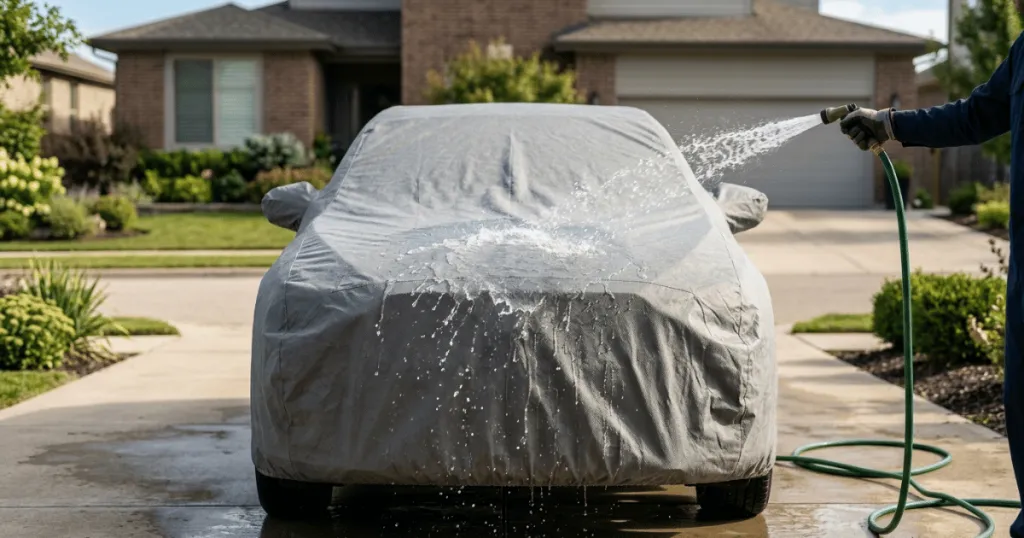
Airborne soot, metallic brake dust, and heavy yellow pollen settle evenly across large surface areas. These fine particulates lodge firmly between woven threads during morning dew cycles. A thorough pre-rinse using a garden hose with moderate pressure flushes loose grit out of the weave before any scrubbing begins.
Step-by-Step Cleaning Process for Targeted Spot Treatment
Effective stain remediation follows a controlled sequence to protect the structural integrity of the fabric. Working methodically ensures that cleaning agents do not dry on the material or leave soapy residues behind.
Step 1: Lay the Shield on a Clean Flat Surface
Spread the protective cover across a clean driveway or a large patio free of sharp debris. Avoid laying the fabric directly onto rough asphalt or gravel that might transfer dirt or scratch the inner lining. Secure the corners with lightweight weights if working outdoors on a windy day.
Step 2: Pre-Rinse and Locate Problem Areas
Spray the entire surface with low-pressure water to flush away loose surface dust. Inspect the fabric closely under bright daylight to map out stubborn discoloration, dark mold spots, or oily smudges. Marking these zones with soft clothespins helps you locate them once the fabric becomes damp.
Step 3: Apply Mild Cleaning Solutions
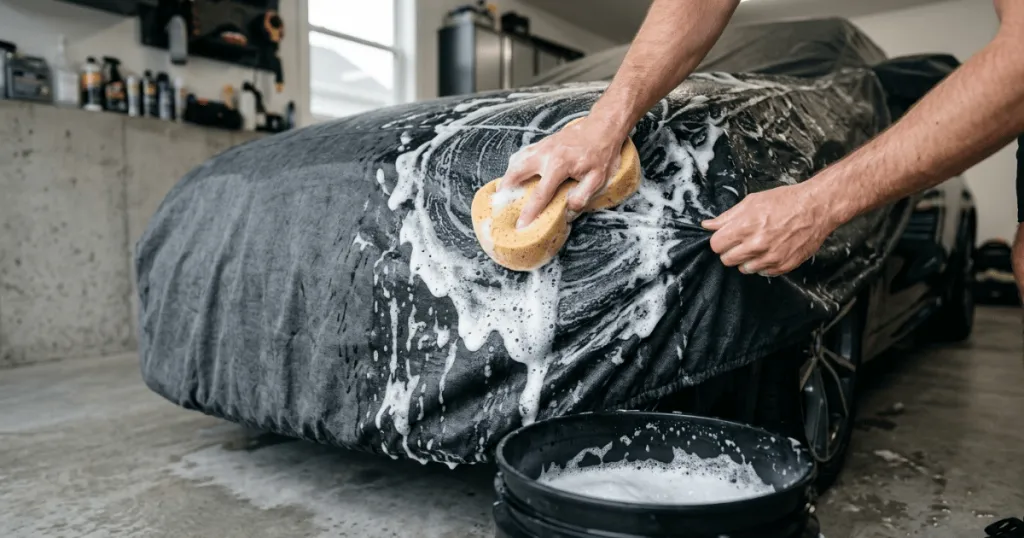
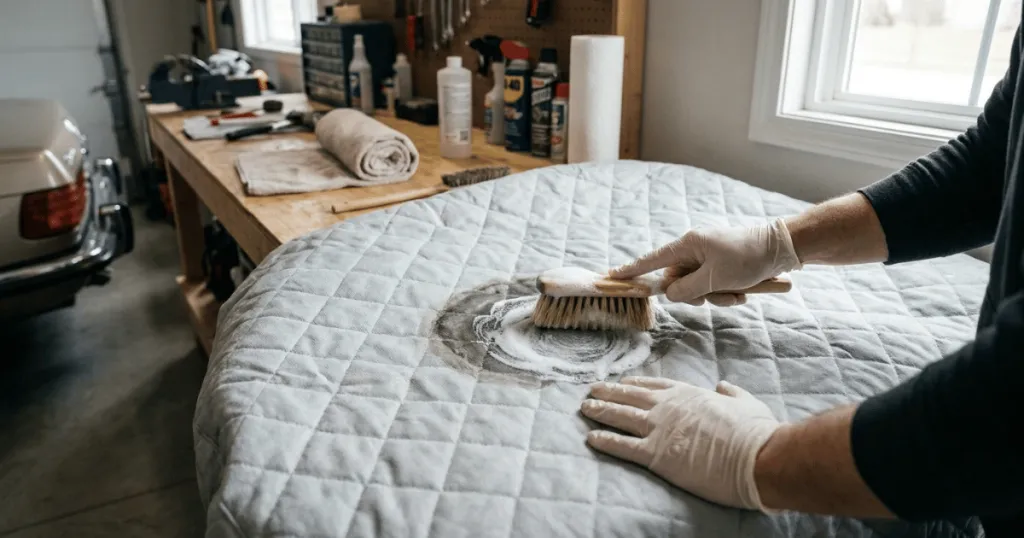
Mix a mild, non-detergent automotive shampoo or specialized fabric cleaner in a bucket of cool water. Dip a soft-bristled brush or a microfiber sponge into the solution. Work outward from the center of the blemish using gentle circular motions to lift trapped particulate matter without stretching the weave.
Step 4: Rinse Thoroughly and Inspect
Flush the treated sections immediately with clean water from a hose to remove all loosened soap and loosened debris. Check the fabric while it is still damp to verify whether the mark has vanished or if a second application is necessary. Never allow soapy water to dry completely on the textile surface.
Comprehensive Washing Strategies for Entire Shields
When localized spot cleaning is no longer sufficient due to widespread environmental contamination, washing the entire exterior shell becomes necessary. Doing this safely requires understanding how different sizes and weights behave when saturated with water. A large SUV cover can hold significant weight when wet, making manual manipulation challenging if attempted incorrectly.
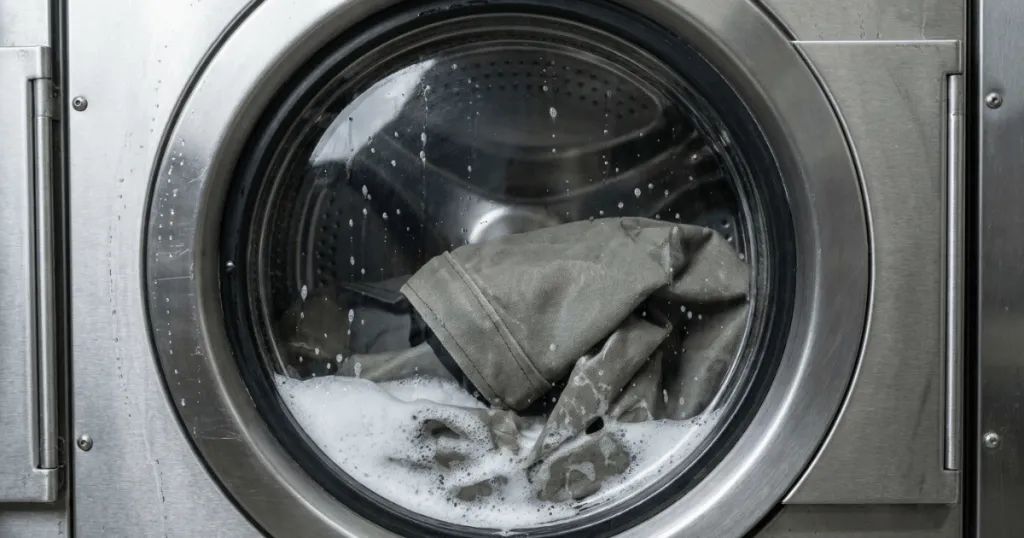
Begin by setting up a clean, open area where the entire fabric can be spread flat. Many owners prefer using a clean driveway or a wide deck. Instead of tossing the item into a home washing machine, which risks tearing the material or burning out the appliance motor with heavy synthetics, hand washing remains the gold standard. Apply a gentle fabric cleaner or a mild automotive wash soap across the surface while it lies flat. Use a soft sponge to distribute the suds evenly, working from the top center down toward the hems.
Rinsing requires absolute diligence. Soap residue left inside the microscopic pores of a synthetic fabric will attract future dirt and degrade the material over time. Take extra care to flush all suds completely out of the seams and elastic hems. When you commit to a thorough wash car cover routine once or twice a year, you preserve the breathable nature of the textile and prevent premature fiber degradation.
Drying and Air Circulation Best Practices
Proper drying prevents mold growth and mildew colonies from forming inside folded storage bundles. Synthetic and cotton-blend covers must never be tossed into a standard heated tumble dryer, as high heat shrinks the fabric and melts waterproof membranes. Instead, hang the damp shield over a sturdy clothesline, a clean fence, or allow it to drape loosely over the vehicle while parked in a shaded carport.
Check both sides of the fabric to ensure complete evaporation before folding. Trapped moisture accelerates fabric degradation and creates stale odors that transfer directly to the vehicle paintwork upon reinstallation. Patience during the drying phase guarantees that your efforts to remove stains from car cover textiles result in a clean, fresh, and fully functional protective barrier.
If air drying takes longer than expected due to high humidity, never fold the shield while damp. Even minor moisture pockets foster mold spores that discolor the fabric permanently and weaken the yarn strength. Give the material extra hours in open air or use a clean, dry leaf blower on a cool setting to accelerate moisture evaporation from dense seams.
Preventing Future Discoloration and Environmental Damage
Proactive maintenance reduces how often you need to scrub stubborn marks from your vehicle protection gear. Storing the shield in a dedicated waterproof storage bag when not in use minimizes exposure to airborne garage dust and wandering pests. Applying a fabric-safe UV protectant spray once a year helps maintain the hydrophobic properties of the outer shell, making it harder for environmental pollutants to bond.
Regularly rinsing your shield while it remains spread over the vehicle washes away light dust before morning moisture locks it into the fibers. Addressing organic fallout promptly stops chemical reactions before they compromise the structural weave. Establishing a routine care schedule keeps your vehicle shield performing reliably season after season.
Vehicle owners who live in regions prone to heavy industrial fallout or intense summer sun will benefit from more frequent inspections. Checking the condition of your protective investment every few weeks allows you to catch localized contaminants before they require aggressive stain removal techniques. By treating your car cover with the same care you apply to your vehicle paintwork, you ensure long-term durability and dependable weather protection.