The Short Version: To dry a car cover safely, shake off excess water, blot the fabric with clean microfiber towels, and hang it across a smooth, clean surface with good airflow. Avoid electric clothes dryers and direct high heat, and always verify that every seam is completely dry before storing the cover away.
When you master how to dry a car cover correctly, you protect your vehicle’s paint from trapped moisture, mold, and stubborn mildew spots. Putting a damp protective shield back onto a vehicle is one of the fastest ways to ruin both the fabric and the clear coat underneath. Following the right method preserves the waterproof or water-resistant coatings, maintains fabric breathability, and extends the lifespan of your investment significantly.
Proper moisture removal takes patience, especially with multi-layer fabrics and heavy-duty outdoor covers. Rushing the process or using incorrect heat sources leads to irreversible damage, such as melted waterproof membranes or shrunk synthetic fibers. This guide walks you through every necessary step to ensure your protective gear is completely bone-dry before folding or storing it away.
By following a meticulous drying routine, you prevent unpleasant musty odors and preserve the elastic integrity of the hem. Taking the extra time to verify that every seam and mirror pocket is free from hidden water droplets ensures your vehicle remains safe and pristine during storage.
Before You Start Drying Your Protective Shield
Before initiating the drying process, you must evaluate the current state of the material and understand your storage environment. A clean surface is mandatory because leftover dirt, pollen, or road grime can bake into the fabric or scratch the paint if trapped during drying. Shake out loose debris and verify that the inner lining is completely free of abrasive particles before spreading the material out.
Weather conditions and humidity play a massive role in how long the evaporation process takes outdoors. On a humid, overcast day, ambient air will do very little to pull moisture from thick multi-layer materials. If you live in a high-humidity region, an indoor garage setup with circulating fans or a dehumidifier is vastly superior to leaving the shield out on damp grass.
You also need to inspect the fabric label for manufacturer warnings regarding thermal exposure and specific material limits. Most modern covers use blended synthetic materials that react poorly to high heat, meaning you must avoid driveways exposed to harsh midday sun or artificial heat sources like blow dryers. Taking stock of these variables prevents costly mistakes right from the start.
Understanding the interaction between ambient temperature and relative humidity helps you gauge the realistic drying window. For instance, dense woven polyester or composite materials trap water within their core bonding layers. Recognizing this structural reality stops you from packing the cover away prematurely simply because the exterior feels dry to the touch.
Tools and Workspace Prerequisites
Gathering the right items ahead of time ensures a smooth, scratch-free process. You do not need industrial equipment, but a few basic household items will make a major difference in how quickly and thoroughly the moisture evaporates.
A clean, elevated drying surface is your most critical asset. Never lay a damp protective cover directly onto bare dirt, wet grass, or rough asphalt where it can pick up stains or sharp gravel. Clean wooden decks, smooth concrete patios, or large clean tarps work well for outdoor drying setups. For indoor setups, heavy-duty clothing racks or clean rafters provide excellent suspension options.
Here are the key items you should have ready before you begin:
- Clean, lint-free microfiber drying towels for blotting excess moisture
- A wide, smooth line or sturdy outdoor fence free of splinters or rust
- Electric floor fans or oscillating fans for indoor air circulation
- A clean tarp or ground sheet to keep the edges off dirty pavement
Having these supplies organized lets you work systematically. It eliminates the temptation to take shortcuts that could soil the clean fabric halfway through the process. Preparing an adequate workspace also minimizes physical strain, as wet multi-layer shields can become surprisingly heavy when saturated with water.
Step-by-Step Instructions on How to Dry a Car Cover
Executing the drying process in a logical order ensures that trapped pockets of water are eliminated from every seam and pocket. Rushing straight to folding while internal layers remain damp guarantees mold growth. Follow these structured steps to get the job done right.
Step 1: Shake and Blot Excess Water
Begin by giving the damp shield a vigorous shake to dislodge pooled water trapped in mirror pockets or deep seams. Spread the material out flat on your clean surface and use absorbent microfiber towels to press down on heavy wet areas. Blotting removes the bulk of surface water much faster than waiting for passive evaporation alone.
When working with heavy materials, pressing down systematically from the center outward pushes pooled water toward the edges where it can run off or be absorbed by your towels. Avoid aggressive wringing or twisting, as these motions distort woven threads, stretch elastic hems, and compromise the structural integrity of custom-fitted pockets.
Step 2: Hang or Spread for Air Circulation
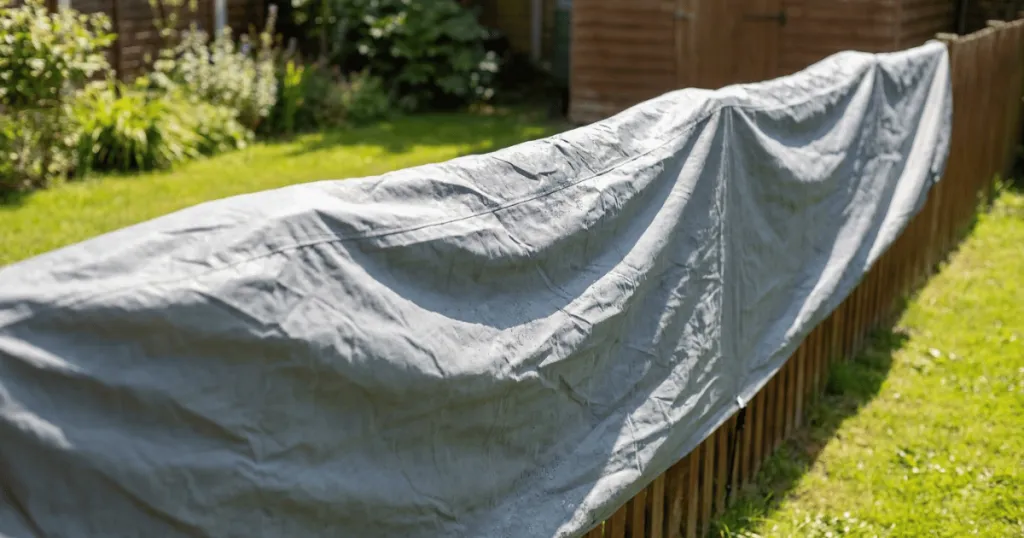
Transfer the cover to a wide clothesline, a clean fence, or a dedicated drying rack to allow unrestricted airflow around both sides. Ensure the inner fleece or soft lining faces inward or outward depending on manufacturer guidelines, though keeping the breathable side exposed is generally safe. Spread out all folds so that trapped air pockets can escape easily.
Adequate ventilation is the primary driver of successful moisture removal. If you are draping the material over a line, make sure the line is thick enough or padded so it does not crease the fabric permanently under its heavy, water-logged weight.
Step 3: Flip and Monitor Progress
Allow the material to air out for several hours, checking it periodically as the outer layers begin to lighten in color. Halfway through the drying window, gently flip or reposition the material to expose any shaded folds or damp underside seams. Patience here is essential, as heavy multi-layer fabrics store moisture deep within the core bonding layers long after the surface feels dry to the touch.
Checking the material at regular intervals lets you adjust its position as the sun shifts or indoor fans alter airflow patterns. If certain sections remain shaded, manually shifting those folds prevents uneven drying rates that can leave isolated damp patches hidden in the middle of a dense bundle.
Step 4: Perform the Final Moisture Check
Before packing the material away, conduct a thorough tactile inspection of every seam, elastic hem, and mirror pocket. Squeeze the thickest parts of the fabric in your fist to ensure no cold dampness remains hidden inside. If any section feels cool or damp, extend the drying time by another hour before attempting to fold it.
This final verification step serves as your ultimate safeguard against mold and mildew. Taking two minutes to feel through the material guarantees that you will not pull out a foul-smelling, ruined cover the next time you uncover your vehicle.
Common Mistakes to Avoid When Drying
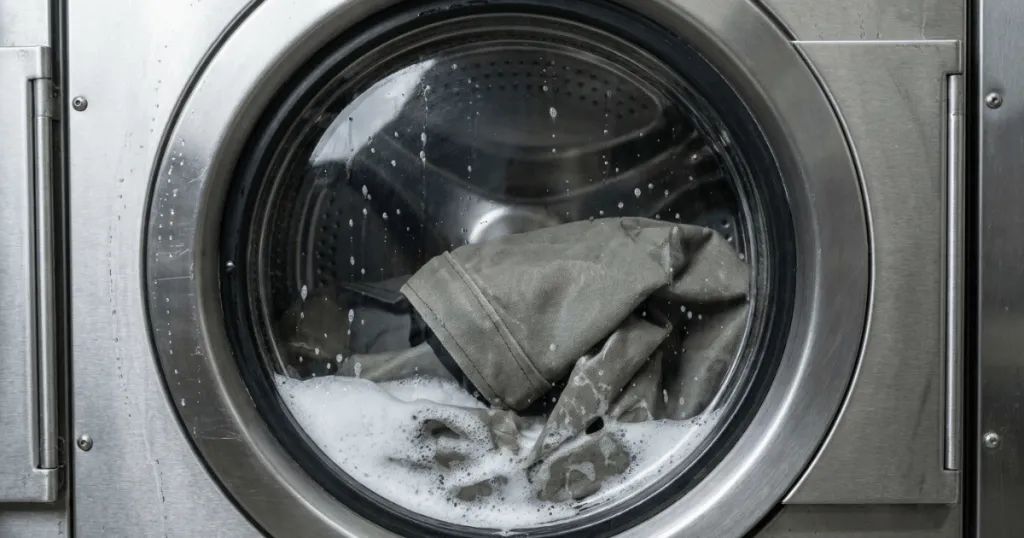
Many vehicle owners unknowingly damage their protective gear by relying on incorrect drying habits. One of the most frequent errors is using a household clothes dryer to speed up the task. High tumbling heat melts waterproof membranes, destroys elastic hems, and causes synthetic threads to snap, rendering the entire cover useless.
Another major mistake is packing the material away while the inner fleece is still slightly damp. Storing a wet shield in a dark trunk or storage bag creates an ideal breeding ground for mildew, foul odors, and permanent fabric degradation. Always verify that the material is one hundred percent dry throughout its entire thickness.
Leaving the material draped over sharp metal fences or dirty pavement introduces new problems like rust stains, punctures, and ground-in dirt. Always ensure your chosen drying rack or ground barrier is smooth, clean, and chemically inert. Avoiding these pitfalls guarantees your protective investment lasts for years.
Additionally, avoid placing damp covers directly onto hot summer asphalt or exposed metal roofs to speed up drying. Excessive surface heat can fuse synthetic layers together or transfer road chemicals directly into the clean weave of the fabric.
Troubleshooting Stubborn Moisture and Odors
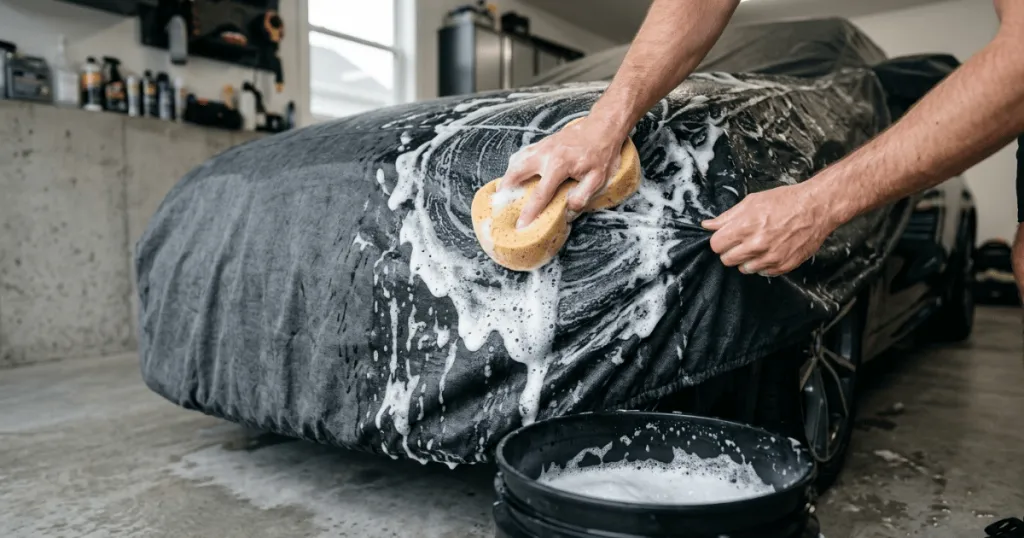
If your cover has been damp for too long and has developed a musty smell, standard air drying will not fully resolve the issue. You must wash the material thoroughly with a mild, non-detergent automotive fabric cleaner before attempting to dry it again. Masking the odor with sprays will only trap the underlying organic mildew spores against your car paint.
When dealing with slow-drying multi-layer fabrics in humid weather, passive outdoor air may not be enough. Introduce indoor oscillating fans or position the setup in a climate-controlled garage with a running dehumidifier to pull moisture out of the dense material. Never use space heaters or heat guns, as concentrated thermal output will warp and scorch the synthetic fibers instantly.
If you notice sticky residue or stiff patches after the fabric dries, it usually means soap residue was left behind during washing. Rinse the affected area thoroughly with clean water, blot it with a dry microfiber towel, and repeat the air-drying cycle. Proper rinsing ensures the fabric remains soft and breathable.
Addressing these complications promptly prevents localized fabric rot from spreading across the entire protective shield. Maintaining a disciplined approach to post-wash care ensures consistent long-term performance.
Mastering how to dry a car cover properly is a straightforward routine that protects your vehicle’s exterior from avoidable damage. By keeping your drying setup clean, avoiding artificial heat, and verifying that every seam is completely moisture-free, you ensure long-lasting performance. Take the time to do it right, and your vehicle will remain safe and pristine under its protective shield.
FAQ
Can I put a wet car cover in a household clothes dryer?
No, you should never put a car cover in an electric or gas clothes dryer. The intense tumbling heat melts waterproof coatings, warps elastic hems, and shrinks synthetic fibers permanently.
How long does it take for a car cover to dry completely?
Drying time typically ranges from two to six hours depending on ambient humidity, airflow, and whether the material is a lightweight single-layer or a heavy multi-layer fabric.
Is it safe to let a car cover dry directly on my vehicle?
No, letting a cover dry while draped over your car traps moisture against the clear coat, which can cause paint hazing, water spots, and mold growth under the fabric.