At a Glance: To clean a car cover safely, lay it flat on a clean surface, brush off loose debris, and rinse with cold water. Wash the exterior using mild automotive soap and a soft brush, rinse thoroughly, clean the inner lining, and let it air dry completely before storage.
Before you begin the washing process, take a moment to evaluate your current setup. If your protective shield is stiff with dried mud, smells musty after a heavy rain, or leaves a fine layer of gray dust on your hands whenever you touch it, washing is necessary. Knowing how to clean a car cover correctly removes abrasive grit that can otherwise grind into your vehicle clear coat during installation. Taking time to care for your fabric shield extends its service life and ensures your vehicle paint stays immaculate.
Before You Start Cleaning Your Shield
Preparation determines whether your washing effort succeeds or ruins the material. Examine the manufacturer tag inside your shield to identify the exact fabric blend, such as woven polyester, multi-layer polypropylene, or cotton-blend fleece. Different textiles react differently to water temperature, agitation, and drying methods.
Never submerge a shield until you check for open seams, torn anchor grommets, or failing elastic. Scrubbing a severely degraded cover can rip the fabric completely, turning a simple maintenance task into a replacement job. Set aside a clean, wide surface like a smooth driveway, a large patio, or a spotless garage floor where you can lay the material flat without snagging it on sharp stones or exposed concrete edges.
Gather your cleaning supplies before you unfold the material. You will need a mild, non-detergent liquid soap or a specialized automotive fabric cleaner, a soft-bristle brush, a standard garden hose with a spray nozzle, and a dry, shaded area for air drying. Avoid harsh household laundry detergents containing heavy enzymes, optical brighteners, or fabric softeners, because these chemical additives break down breathable membranes and degrade water-resistant coatings.
Tools, Context, and Prerequisites
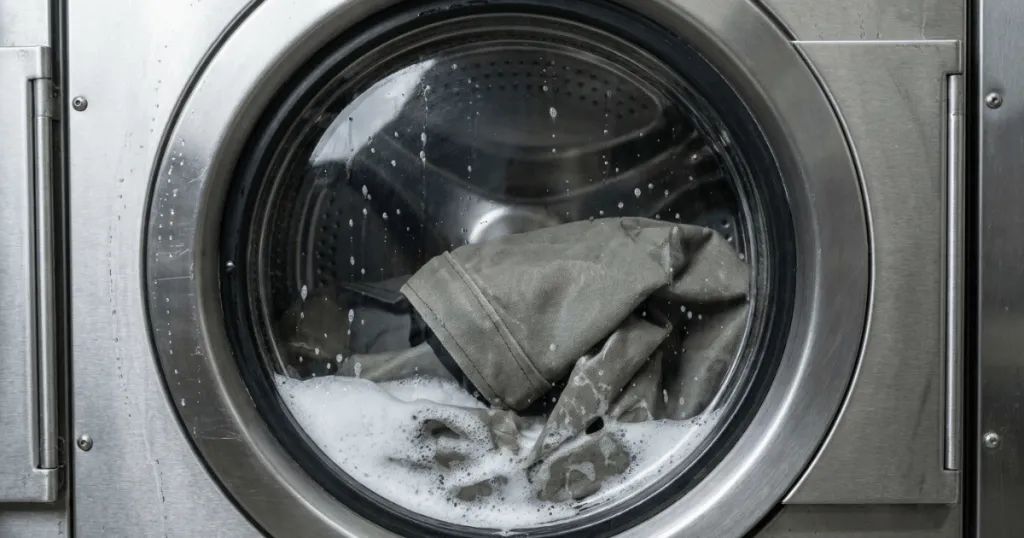
Success relies on using the right cleaning environment and mechanical approach. Avoid commercial top-loading washing machines equipped with center agitators, as the aggressive twisting motion will tear seams and destroy specialized multi-layer fabrics. If your cover is light enough and your local laundromat offers an oversized, front-loading commercial drum with no agitator, machine washing on a gentle cycle with cold water is sometimes acceptable for durable woven polyester covers.
For multi-layer outdoor covers featuring fleece linings, breathable films, or thick custom dimensions, hand washing on the vehicle or laid out flat on the ground is the safest method. This manual approach gives you total control over water pressure and scrubbing force, ensuring you do not scrub too hard against delicate welded seams or elasticized bottom hems.
Temperature control matters just as much as soap selection. Always use cold or lukewarm water when rinsing and washing your shield. High heat from hot water settings can melt synthetic fibers, shrink custom-tailored dimensions, or permanently compromise the chemical bonding agents holding multi-layer fabrics together.
Step-by-Step Instructions on How to Clean a Car Cover
Executing each phase in the correct sequence prevents damage and ensures thorough soil removal. Follow these systematic steps to restore your vehicle protection shield safely.
Step 1: Perform the Initial Dry Brush and Rinse
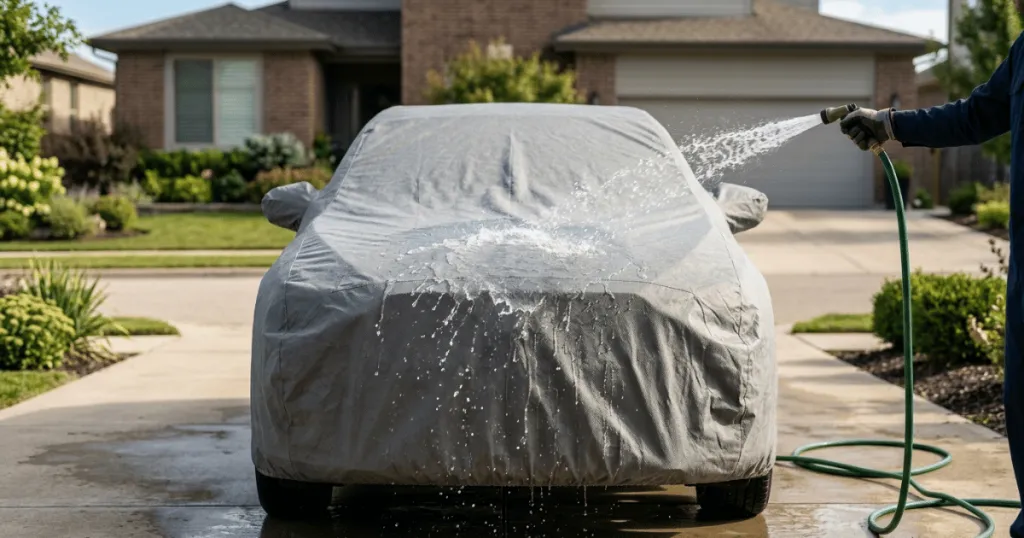
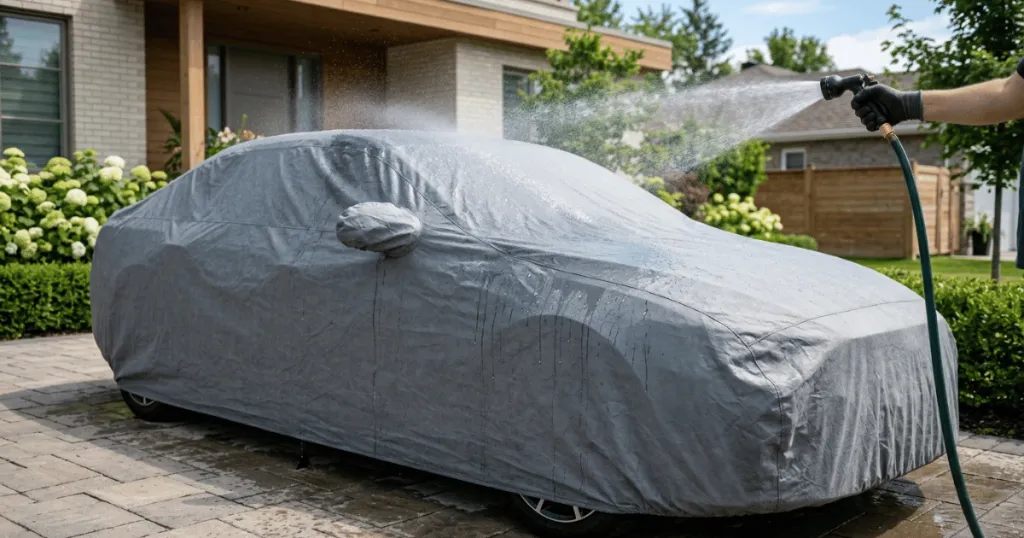
Spread the cover out completely on your clean driveway or hang it securely over a smooth fence or rail. Use a soft-bristled brush or a dry microfiber towel to gently sweep away loose surface debris, dried mud, leaves, and bird droppings. Once loose dirt is gone, connect your garden hose and rinse the entire exterior surface with a gentle spray of cold water to flush away remaining dust.
Step 2: Apply Mild Soap and Work in Sections
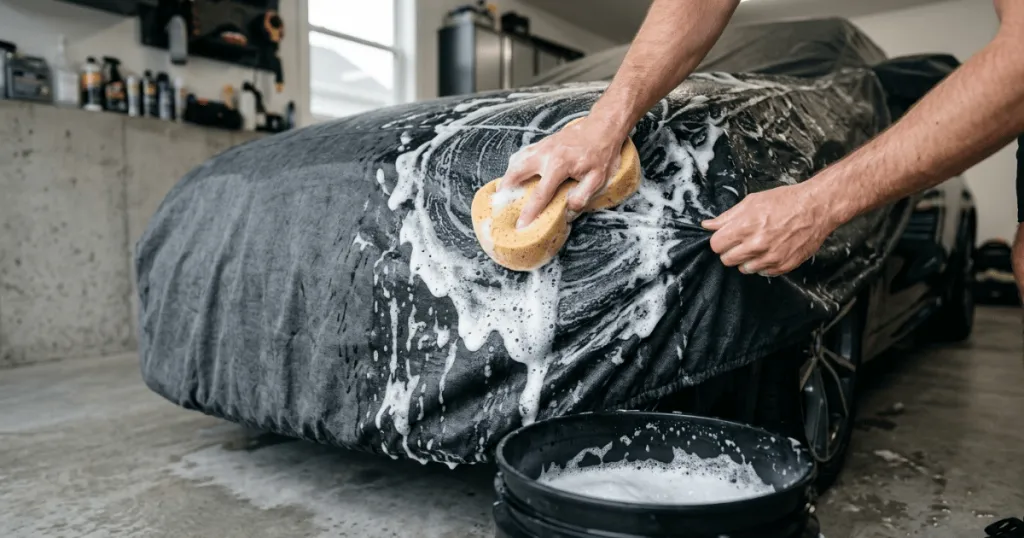
Mix your mild automotive fabric soap into a bucket of cool water according to the product dilution guidelines. Starting at the top center panel, use a soft sponge or a non-abrasive brush to work the soapy solution gently across the material in overlapping linear motions. Move systematically downward toward the sides and bottom hem, paying extra attention to areas where exhaust soot and road grime collect.
Step 3: Rinse Thoroughly to Remove Residue
Take your garden hose and thoroughly rinse the entire cover from top to bottom, making sure no soap bubbles or milky residue remain trapped in the weave. Soap film left behind on the fabric will attract fresh dust and pollen the moment you place the cover back onto your vehicle. Lift the folds and check hidden seams to ensure the rinse water runs completely clear.
Step 4: Flip and Clean the Inner Lining
Carefully flip the cover inside out to inspect and wash the soft inner lining. The interior often collects fine interior dust, pet hair, and body oils transferred from your car paint during storage. Use a lighter concentration of your mild soap and a very soft sponge to clean the interior surface gently without pulling at the fleece backing or woven inner strands.
Step 5: Air Dry Completely Before Storage
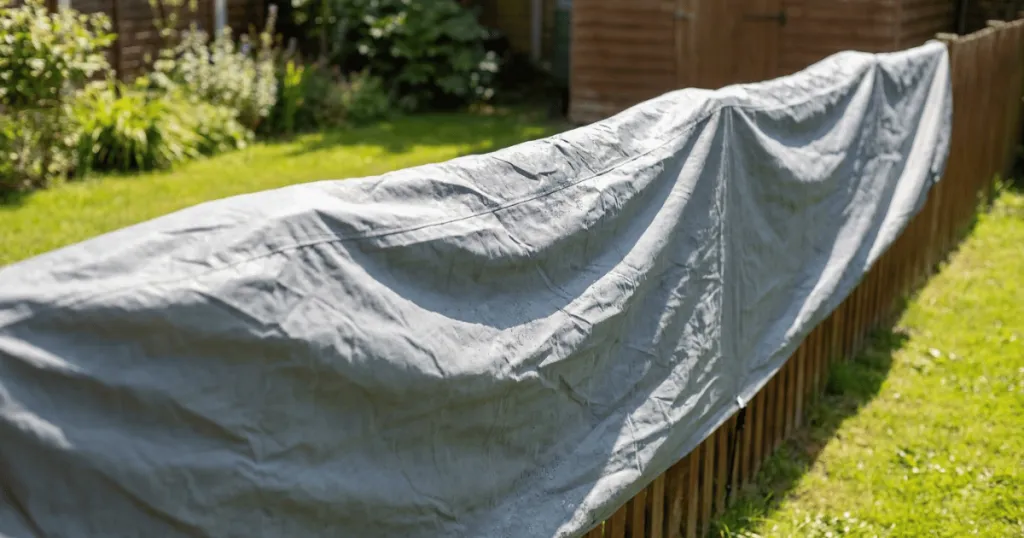
Drape the clean cover back over your vehicle while it is parked in a shaded, well-ventilated outdoor spot, or hang it across a clean line to air dry naturally. Never pack a damp or even slightly moist cover into its storage bag, as trapped moisture creates an ideal breeding ground for mildew and mold. Allow both sides to dry completely for several hours before folding or storing.
Common Mistakes to Avoid
Rushing the cleaning process often introduces costly errors that permanently ruin protective vehicle gear. One frequent mistake is using standard household dish soap or laundry powder to cut through stubborn tree sap and grease spots. These strong cleaning agents strip away the factory-applied water repellency and leave behind chemical residues that degrade synthetic threads over time.
Another risky shortcut is tossing a heavy, custom-fit outdoor cover into a standard home washing machine. The central agitator catches on mirror pockets and antenna patches, ripping the fabric apart and stretching the elastic hem out of shape. Hand washing or using a giant commercial front-loader remains the only safe mechanical choice.
Skipping the thorough drying phase is a major hazard. Rolling up a damp cover and placing it in your trunk leads directly to severe mold growth, unpleasant musty odors, and permanent fabric discoloration. Always verify that every layer is completely dry to the touch before packing it away.
Troubleshooting Maintenance Issues
Stubborn stains like hardened tree sap, bird droppings, or asphalt tar require targeted care rather than aggressive mechanical scrubbing. If standard soap fails to lift a localized spot, dab a small amount of diluted fabric cleaner directly onto the affected area and let it dwell for a few minutes before gently blotting with a soft microfiber cloth. Never use petroleum solvents, harsh stain removers, or bleach, because these chemicals dissolve synthetic threads and ruin waterproof laminates.
If you notice water soaking straight into the fabric instead of beading up after a fresh wash, the durable water repellent coating has worn away. You can restore this protective barrier by applying a spray-on waterproof treatment specifically formulated for outdoor automotive fabrics while the material is clean and dry. Spray the treatment evenly across the exterior surface in a well-ventilated area and let it cure fully before covering your car again.
When elastic hems lose their tension or stitched seams begin to unravel at the corners, evaluate the age and overall integrity of the material. Minor seam separation can sometimes be mended using heavy-duty UV-resistant nylon thread, but widespread fabric thinning means the protective barrier has reached the end of its functional life and needs replacement.
Final Thoughts on Maintaining Your Protective Shield
Properly maintaining your vehicle protection gear requires patience and adherence to manufacturer guidelines, but the payoff is a longer service life and dependable paint protection. Knowing how to clean a car cover correctly keeps abrasive contaminants away from your clear coat and prevents premature material failure. By using gentle cleaners, cold water rinsing, and complete air drying, you ensure your cover remains a reliable defense against weather and debris for years to come.
FAQ
Can I put my car cover in an electric clothes dryer?
No. The high heat from a standard clothes dryer will melt synthetic fibers, shrink custom dimensions, and ruin waterproof coatings. Always let your cover air dry completely.
How often should I clean a car cover?
You should wash your shield every three to six months, or sooner if you notice heavy pollen buildup, tree sap, bird droppings, or visible dirt accumulation on the fabric.
What soap is safe to use on outdoor car covers?
Use a mild, non-detergent liquid soap or a specialized automotive fabric wash. Avoid dish soap, laundry detergents with enzymes, and bleach, as they strip protective coatings.